Product categories are important for any eCommerce store. With proper product category hierarchy, your customers can easily find the products they want. If the product categories are not properly managed in an eCommerce store, potential customers will find it hard to find the product they want and they have to rely on the search function.
Each and every eCommerce platform provides some kind of interface to manage categories. If you are using Prestashop, you can use the awesome GUI to manage product categories. It is very easy to use and important for your store. All the popular eCommerce stores manage and update their categories regularly.
In this tutorial, I am going to show you how to manage product categories in Prestashop. It is a powerful feature that allows you to engage potential customers on your store if properly used. So, let’s get started with the tutorial.
Manage Categories in Prestashop
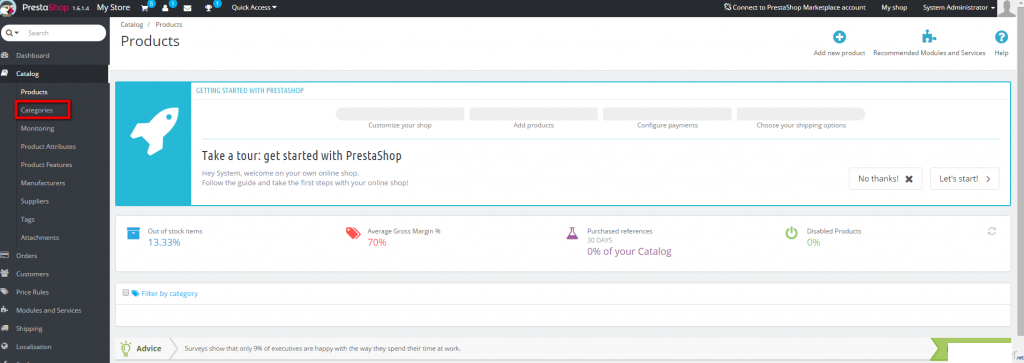
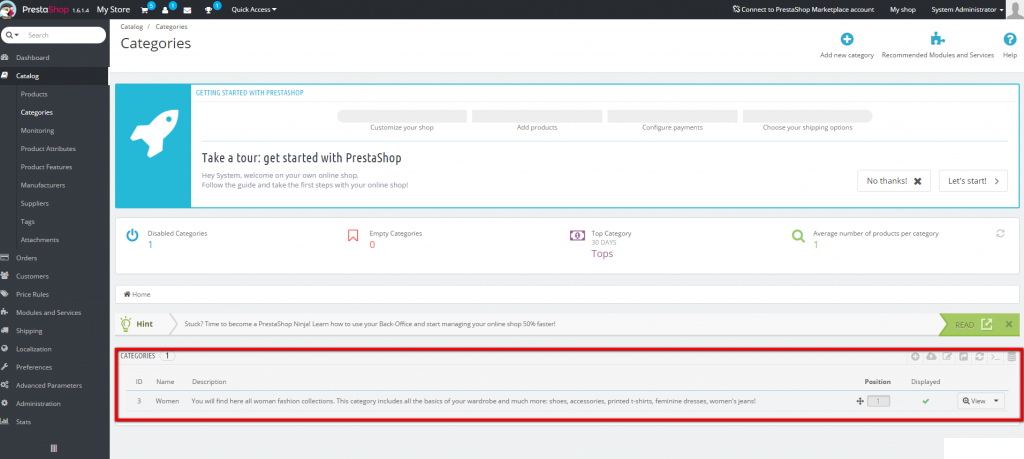
First of all, log in to the admin panel of your Prestashop store and click on the Catalog -> Categories option from the left sidebar. See the following screenshot for reference.
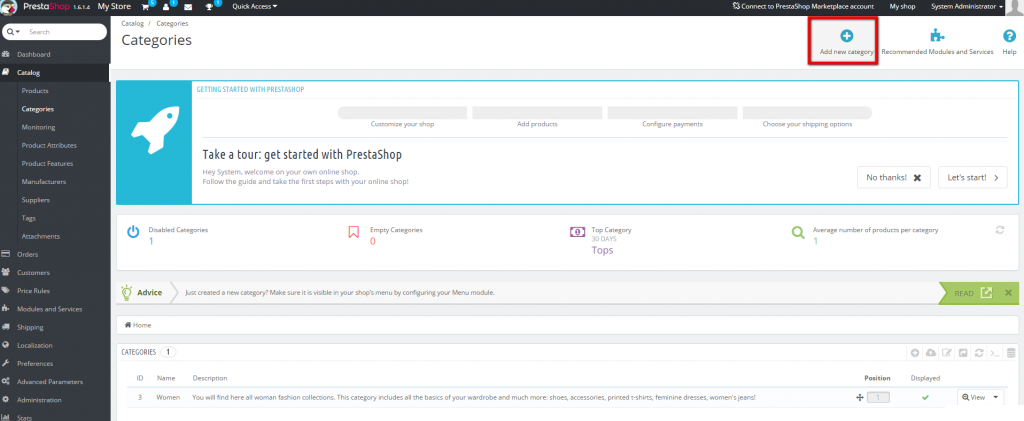
On this page, you will see a list of categories available in your Prestashop store. You can search, update and delete categories directly from this page. To create a new category, click on the Add New Category button given on the top-right corner of the page.
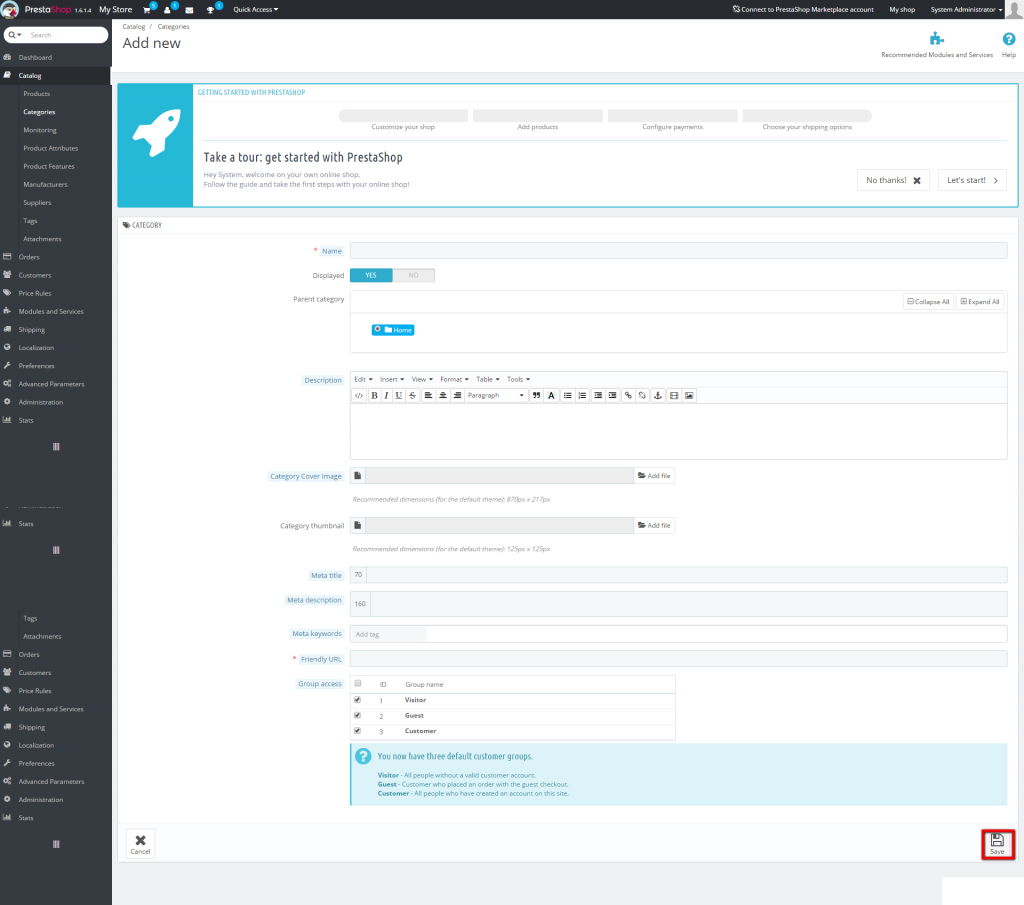
On this page, fill up the information about your category in the form. After entering all the required information, click on the Save button given at the bottom-right corner of the page.
After saving a category, you will start seeing it in the list of categories given in the Catalog -> Categories page.
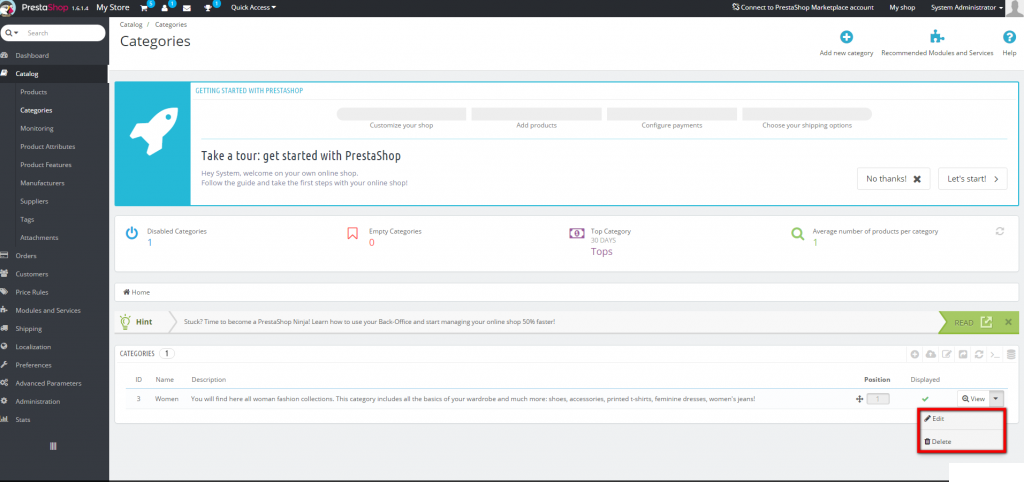
On the same page, click on the Edit button corresponding to the category you want to edit or delete. Click on the appropriate function as per your choice to take an action.